When building my personal website, I encountered a challenge implementing navigation in multiple areas: the header, footer, and mobile hamburger menu. These components all shared the same data, which I called "NAV", but required different styles and behaviors. My goal was to reuse the same data and logic across all of them when maintaining flexibility in presentation.
export const NAV = [
  {
    title: "About me",
    link: "/",
  },
  {
    title: "Projects",
    link: "/projects",
  },
  {
    title: "Tech Blog",
    link: "/blog",
  },
  {
    title: "CV",
    link: "/cv",
  },
];
header
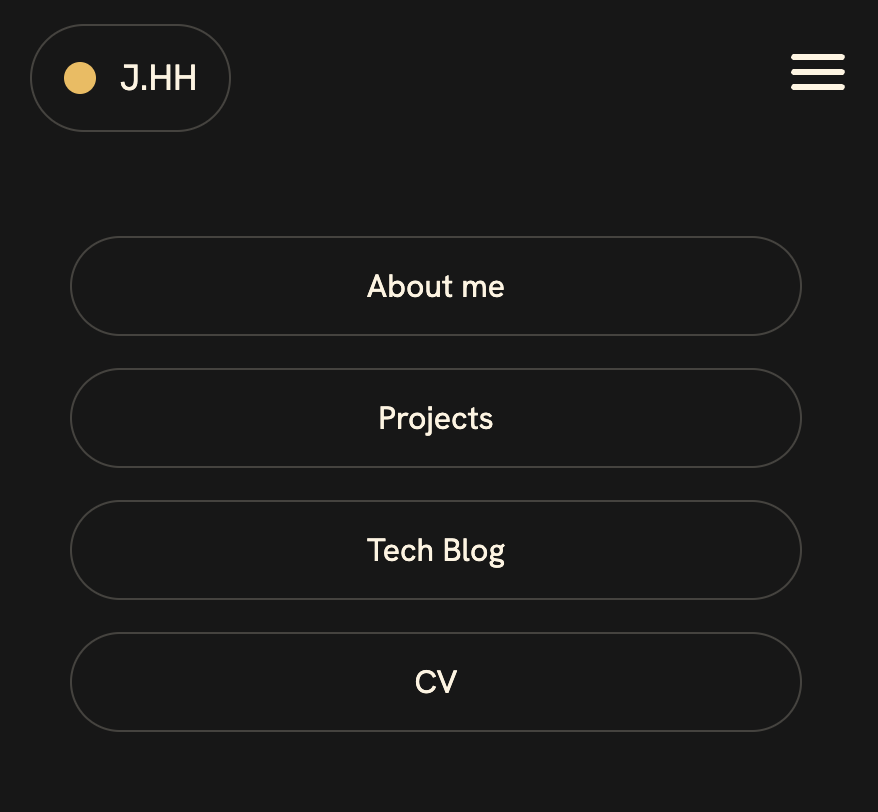
mobile nav

footer
Each navigation component had unique requirements:
- The header featured a horizontal navigation with a red underline indicating the current page.
- The footer displayed a vertical navigation.
- The mobile menu showed large, bordered buttons in a vertical layout, with the additional requirement of closing the menu upon navigation.
At first, I only had a header navigation. Adding the footer navigation was manageable, albeit a bit messy. However, when I implemented the mobile navigation, I found myself modifying most of the styles and clickable elements. Additionally, I needed to add logic to close the menu after navigation, and remove the existing red underline from the header navigation. The code was becoming increasingly complex and difficult to maintain. Shared components should be readable and their intent should be clear, but mine was absolutely NOT.
It became clear that a refactor was necessary. I needed a shared component that focused solely on logic, eliminating style-specific code.
Inspired by React Native's Flatlist component, I set out to create a similar pattern for React. This approach would allow me to use the same navigation data source while providing flexibility in rendering and styling across different parts of my personal website.
Short Introduction to React Native's Flatlist
FlatList is a powerful component for rendering lists efficiently. It takes a data prop (an array o items) and a renderItem prop (a function that returns an React element for each item).
const DATA = [
  {
    id: "bd7acbea-c1b1-46c2-aed5-3ad53abb28ba",
    title: "First Item",
  },
  {
    id: "3ac68afc-c605-48d3-a4f8-fbd91aa97f63",
    title: "Second Item",
  },
  {
    id: "58694a0f-3da1-471f-bd96-145571e29d72",
    title: "Third Item",
  },
];type ItemProps = { title: string };
const Item = ({ title }: ItemProps) => (
<View style={styles.item}>
<Text style={styles.title}>{title}</Text>
</View>
);
const App = () => {
return (
<SafeAreaView style={styles.container}>
<FlatList
data={DATA}
renderItem={({ item }) => <Item title={item.title} />}
keyExtractor={(item) => item.id}
/>
</SafeAreaView>
);
};While React doesn't have a direct equivalent to FlatList, we can create a similar pattern that achieves the same goal of separating data from rendering logic. This is particularly useful for our navigation menus, which share the same data but require different styles and behaviors in the header, footer, and mobile menu.
Requirements
To ensure the solution met my needs, I established the following requirements:
- Type Safety
- Reusable
- Index-aware
- Customizable Styling
Plan
- For type safety, I'll create a dedicated component. Instead of passing data as a prop, I'll create a
MenuListcomponent specifically for rendering theNAVdata. This ensures type safety & keeps the component focused on a single responsibility. - For some components, index is needed for styling.(See mobile nav below) I'll pass a
renderItemprop that takes both the navigation item and its index as arguments. - For customizable styling, I'll pass a
classNameprop.
import { NAV } from "contents/meta/nav";
import { HTMLAttributes, ReactNode } from "react";

interface MenuListProps {
  renderItem: (
    item: { title: string; link: string },
    index: number,
  ) => ReactNode;
  className?: HTMLAttributes<HTMLDivElement>["className"];
}

const MenuList = ({ renderItem, className }: MenuListProps) => {
  return (
    <div className={className}>
      {NAV.map((item, index) => renderItem(item, index))}
    </div>
  );
};

export default MenuList;Now, let's see how we can use the MenuList component to create our header,
footer, and mobile navigation components.
Header Navigation
const NavDesktop = () => {
  const pathName = usePathname();

  const checkCurrentPage = (link: string) => {
    if (pathName === "/") {
      return pathName === link;
    } else {
      if (link !== "/") {
        return pathName.startsWith(link);
      }
    }
  };

  return (
    <header>
      ...
      <MenuList
        renderItem={(nav) => (
          <div key={nav.link}>
            <Link href={nav.link}>{nav.title}</Link>
            {checkCurrentPage(nav.link) && <RedUnderline />}
          </div>
        )}
      />
      ...
    </header>
  );
};
Footer Navigation
<MenuList
  renderItem={(nav) => (
    <Link key={nav.link} href={nav.link} className="py-1">
      {nav.title}
    </Link>
  )}
  className="flex flex-col text-lg"
/>
Mobile Hamburger Menu
...

const Drawer = () => {
  const { isOpen, setClose } = useHamburger();

  if (isOpen) {
    return (
      ...
          <MenuList
            renderItem={(nav, index) => (
              <motion.div
                key={nav.link}
                initial={{ scale: 0, opacity: 0 }}
                animate={{ scale: 1, opacity: 1 }}
                transition={{
                  type: "spring",
                  stiffness: 260,
                  damping: 20,
                  delay: 0.1 + index / 10,
                }}
                className="flex"
              >
                <Link
                  href={nav.link}
                  onClick={setClose}
                  className="border-primary/20 flex-1 rounded-full border px-4 py-3 text-center"
                >
                  {nav.title}
                </Link>
              </motion.div>
            )}
            className="z-50 flex w-full flex-col gap-4 px-5 pb-5 pt-10"
          />
       ...
    );
  } else {
    return null;
  }
};
used index for styling
This pattern demonstrates how we can apply concepts from one framework(React Native's Flatlist) to solve problems in another context(React). By thinking creatively about component design, we can create elegant solutions that improve code quality and maintainability.
Moreover, this experience reinforced that creating shared components that are both easy to read and intentful is very important.